Strip Planking

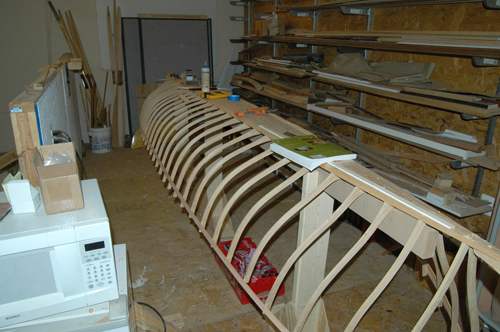
Here is the skeleton of the boat on the building form right before stripping. The last ribs have been added, all the unfair ribs have been adjusted, and the inner stems (also bent laminations) have been added. The strip already on the boat is below the sheer and is there to stabilize the assembly.
The strips are western red cedar, 1/4" thick. Each strip has a bead routed on one edge and a matching cove on the other. The strips will, therefore, slot together without the need for long rolling bevels.

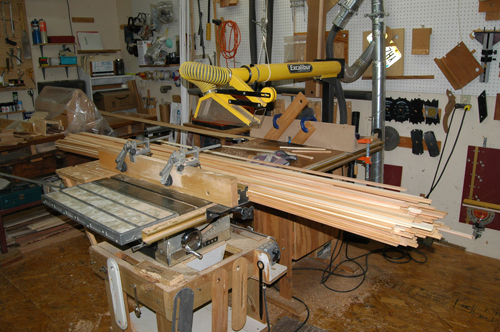
A huge pile of 8' strips on the table saw. In this photo they have been cut, milled, and the bead routed. I'm just setting up for the cove.

Each strip will end up being about 18' long, so they must be scarphed together from shorter pieces. I tried both the table saw and the router for forming the scarphs, but the cedar was too delicate and chipped badly (well, blew apart was more like it with the router!). So I set up a sanding jig on this 12" disk sander. I use this method with different angles to form the segments for turned segmented vessels like the one on the right edge of the photo.

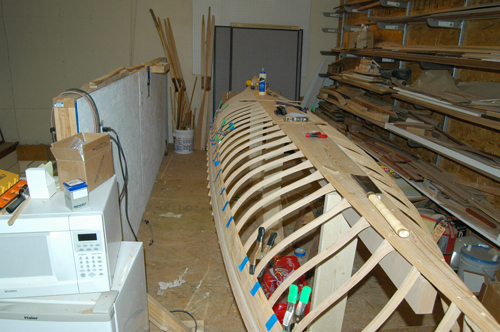
Here is the hull with seven strips installed on each side. The strips are edge glued with yellow glue and fastened to the ribs with #3 1/2" brass screws per the original.